The builder
Schematic
The bench wiring, drawn between your configured instruments and the device under test, and readable as an ordered hookup checklist.
A test sequence is only correct if the bench is wired the way the sequence assumes. The Schematic pane makes that assumption explicit and puts it next to the test that depends on it.
How it is laid out
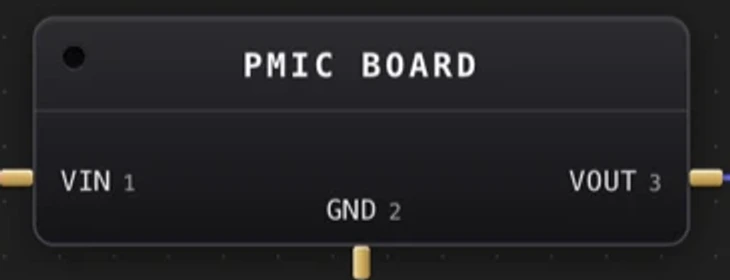
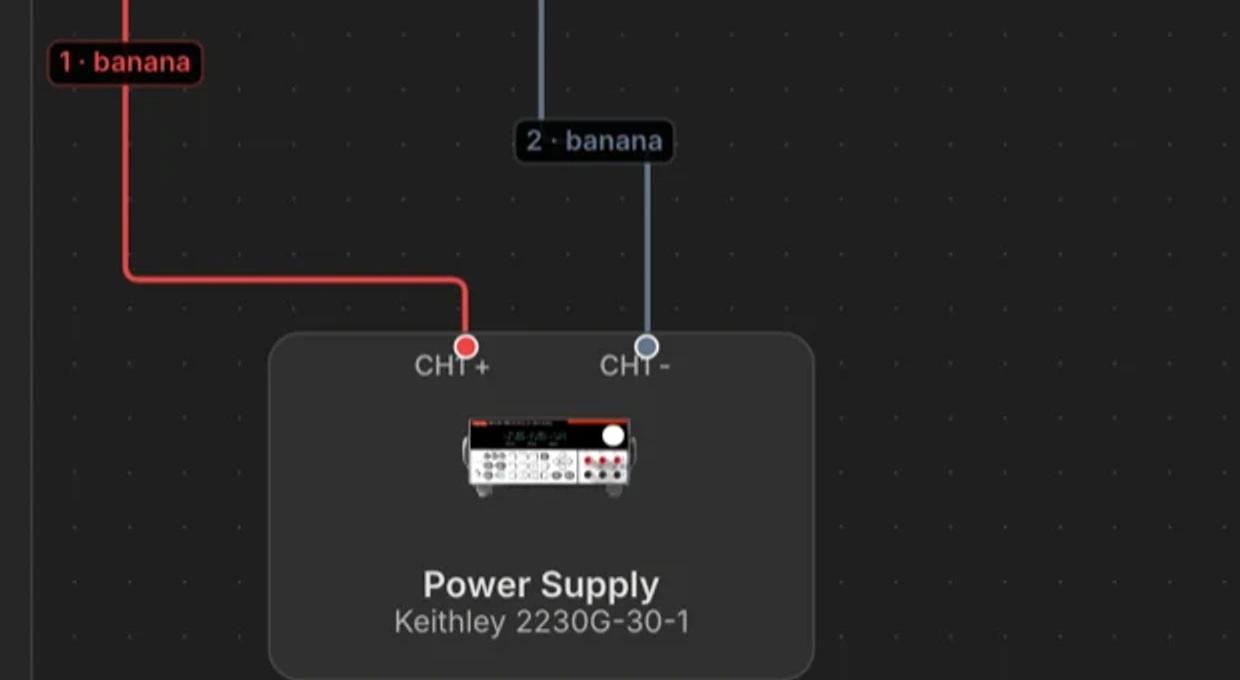
- Instruments sit in zones around the DUT: sources on the left, measurement on the right.
- The DUT is drawn as an IC package with named pin stubs. Power and enable pins on the left or top, grounds at the bottom, outputs on the right.
- Wires are colour-coded by electrical class, so a ground is visually a ground.
- With a datasheet attached, pin names come from the datasheet rather than being invented.
It is a checklist, not just a picture
The wire list is ordered the way you would actually hook it up.

| Property | What it carries | Why |
|---|---|---|
| Order | Grounds first, then power, then signals, comms last. | The order that does not damage anything. |
| Cable type | Banana, probe, BNC, USB, GPIB, LAN, twisted pair, wire. | So you know what to pick up, not just where it goes. |
| Note | A one-line warning, only where it prevents a real mistake. | Current limit, short ground lead. Not decoration. |
| Setup notes | Up to four bench preconditions. | Output off while wiring, rail voltage and current limit, shared ground, with real values from the workflow. |
When it gets wired
Ask for it, and the agent wires it. It also wires the schematic on its own after building a brand-new test, when instruments are configured, because a new test is exactly when nobody knows the hookup yet. It does not re-wire on small edits.
Prompt
Wire the schematic for this test. The DUT is the LT8640S in the MSOP-16 package, EN on pin 3.
See also