 Ali Kamaly
NI Vision Alternatives in 2026 (OpenCV & Free Machine Vision Options)
NI Vision is a four-figure add-on on top of LabVIEW. Here is what it does, where OpenCV genuinely replaces it, where it does not, and how to move an inspection application safely.
The NI Vision Development Module is a machine vision add-on for LabVIEW, providing image acquisition, pattern matching, OCR, barcode reading, gauging, and defect detection, plus Vision Assistant for prototyping algorithms without writing code. Vision Builder for Automated Inspection is its configuration-only sibling.
It is also a four-figure per-seat add-on that sits on top of a LabVIEW licence, which means a single inspection station can carry two subscriptions before you count hardware. This post covers what it genuinely provides, the five alternatives, and where switching is a mistake.
What NI Vision gives you
- •Vision Assistant. Prototype an algorithm by clicking through steps, see the result on a real image at each stage, then generate the code. For engineers who are not computer vision specialists this is the product's main value and it is genuinely good.
- •Calibrated measurement. Real-world units from pixel measurements, with distortion correction. Getting this right by hand is fiddly.
- •Tight LabVIEW integration. The image is a native datatype flowing through the block diagram alongside your DAQ and instrument data.
- •Deterministic deployment on NI real-time targets and smart cameras.
If your inspection is running on a cRIO with a hard cycle time, that last point is doing real work and the alternatives get harder.
Where it stops making sense
- •The cost stacks. Vision module plus LabVIEW plus deployment licences per station.
- •The algorithms lag. OpenCV and the deep-learning ecosystem move quickly. Classical pattern matching is well covered, but modern defect classification is not where NI invests.
- •Hiring. Computer vision engineers know OpenCV and PyTorch. Very few know Vision Assistant.
- •You are running vision on a general-purpose PC anyway. Most inspection stations are a Windows box with a GigE camera. There is no determinism argument to make.
The alternatives
1. OpenCV
Free, BSD-licensed, and the default in the field. Python and C++ bindings, enormous algorithm coverage, and every technique published in the last twenty years has an OpenCV implementation somewhere.
import cv2
import numpy as np

img = cv2.imread("board.png", cv2.IMREAD_GRAYSCALE)
template = cv2.imread("fiducial.png", cv2.IMREAD_GRAYSCALE)

res = cv2.matchTemplate(img, template, cv2.TM_CCOEFF_NORMED)
_, score, _, loc = cv2.minMaxLoc(res)

if score < 0.85:
    verdict = "FAIL: fiducial not found"
else:
    verdict = f"PASS: fiducial at {loc}, score {score:.3f}"
print(verdict)
Good for: almost everything. Pattern matching, blob analysis, edge detection, calibration, OCR through Tesseract, and a bridge into deep learning when classical methods run out.
Gives up: the prototyping UI. You iterate in code or a notebook rather than by clicking. For an engineer who is not a programmer this is a real barrier.
Verdict: the default replacement. Pair it with Jupyter to get some of the interactive prototyping back.
2. scikit-image
Free, Python, scientific measurement focus. Complements OpenCV rather than competing with it.
Good for: measurement, segmentation, and morphology where you want well-documented, citable algorithms. Strong for research and for metrology-style inspection.
Gives up: speed on large images relative to OpenCV's optimised C++, and real-time camera acquisition.
Verdict: use alongside OpenCV, not instead of it.
3. MVTec Halcon
Commercial, and the strongest classical machine vision library on the market. Excellent 3D, shape-based matching that outperforms template matching by a wide margin, and HDevelop as a prototyping IDE.
Good for: hard inspection problems. Variable lighting, rotation and scale invariance, 3D metrology. This is where free libraries genuinely struggle.
Gives up: money. Halcon is not cheap, and it is a lateral move from NI Vision on cost.
Verdict: the right answer when the inspection is genuinely difficult and failure is expensive. Not a cost-reduction play.
4. Cognex VisionPro and In-Sight
Commercial, and the industry standard in factory inspection. Smart cameras with the vision running on the camera, configured through a UI.
Good for: production lines where you want the vision system to be an appliance rather than a piece of software someone maintains.
Gives up: flexibility and cost. You are buying a system, not a library.
Verdict: compare against NI Vision Builder rather than against OpenCV. Same category.
5. Camera vendor SDKs (Basler pylon, FLIR Spinnaker, Allied Vision Vimba)
Free with the hardware, and they handle the acquisition half properly: triggering, exposure control, bandwidth management, GigE and USB3 Vision compliance.
Good for: the acquisition layer, which OpenCV handles poorly for industrial cameras.
Gives up: processing. Use the SDK to get frames, then OpenCV to analyse them. This is the standard pairing.
Verdict: not optional. If you use OpenCV with an industrial camera, you use a vendor SDK for acquisition.
Comparison table
| NI Vision | OpenCV | scikit-image | Halcon | Cognex | |
|---|---|---|---|---|---|
| Cost | Four figures/seat/yr + LabVIEW | Free | Free | Commercial | Commercial + hardware |
| Prototyping UI | Vision Assistant | Notebooks | Notebooks | HDevelop | Yes |
| Pattern matching | Good | Good | Basic | Excellent | Excellent |
| 3D vision | Limited | Moderate | Limited | Excellent | Good |
| Deep learning | Limited | Via DNN module | Via other libs | Yes | Yes |
| Industrial camera support | Good | Via vendor SDK | Via vendor SDK | Excellent | Native |
| Real-time deployment | On NI targets | On any PC | On any PC | Yes | On camera |
| Hiring pool | Very small | Very large | Large | Moderate | Moderate |
How to move an inspection application
Vision migrations have one property that makes them safer than most: you can replay them offline.
- 1
Archive a labelled image set. Several hundred images through the existing station, each with the NI Vision verdict and measured values recorded. This is your regression suite and it costs one production shift to collect.
- 2
Reimplement offline against the archive. No camera, no line, no risk. Iterate in a notebook until the new algorithm's verdicts match the old ones.
- 3
Measure the disagreement, do not eyeball it. Build a confusion matrix. False rejects cost yield, false accepts cost customers, and they are not equally bad. Decide which you will tolerate before you tune.
- 4
Run in shadow mode. New system watching the same line, logging verdicts, changing nothing. A week of this catches the lighting drift that offline testing cannot.
- 5
Cut over, keep the old station cold for a quarter.
The step people skip is the first one. Without a labelled archive, every subsequent decision is guesswork.
When to keep NI Vision
Genuinely keep it if:
- •The application runs on a cRIO or NI smart camera with a hard cycle time, and re-platforming the hardware is not in scope
- •Vision is one small step in a large, working LabVIEW application and the licence is already paid
- •Your inspection engineers are LabVIEW engineers, and retraining cost exceeds the licence
Otherwise, OpenCV with a vendor SDK covers it for free.
Replacing Vision Assistant's workflow
The honest gap when leaving NI Vision is the prototyping experience. Vision Assistant lets you build an algorithm by clicking and see the effect at each stage. Losing that is what makes engineers resist the move.
Jupyter recovers most of it:
import cv2, matplotlib.pyplot as plt

def show(*images, titles=None):
    fig, axes = plt.subplots(1, len(images), figsize=(4 * len(images), 4))
    for ax, img, title in zip(axes, images, titles or [""] * len(images)):
        ax.imshow(img, cmap="gray"); ax.set_title(title); ax.axis("off")
    plt.tight_layout()

img = cv2.imread("part.png", cv2.IMREAD_GRAYSCALE)
blur = cv2.GaussianBlur(img, (5, 5), 0)
edges = cv2.Canny(blur, 50, 150)
show(img, blur, edges, titles=["raw", "blurred", "edges"])
Each cell is a step, each output is visible, and unlike Vision Assistant the result is already the production code. There is no separate code-generation stage that produces something different from what you prototyped.
Add ipywidgets sliders for threshold tuning and the parity is close.
Lighting is the real variable
Worth stating plainly, because it is where inspection projects actually fail and no software choice fixes it.
An algorithm tuned on images from one lighting setup will fail when the lighting changes, and lighting changes constantly: a lamp ages, a technician moves a diffuser, sunlight reaches the bench in summer.
- •Control the light before optimising the algorithm. Enclosure, fixed geometry, defined intensity.
- •Log a raw image with every failed inspection. When yield drops, this tells you in minutes whether the part changed or the light did.
- •Include lighting variation in your archive. Collect images across shifts and seasons before you tune.
Teams that do this find the library choice barely matters. Teams that do not find no library saves them.
Getting the camera without the NI driver stack
The second objection after prototyping is camera support: NI Vision Acquisition Software handles GigE Vision and USB3 Vision cameras, and leaving it feels like leaving the hardware behind. It is not, because both are open standards with free implementations.
| Camera interface | Free route | Notes |
|---|---|---|
| GigE Vision / GenICam | Harvester, or the vendor's own SDK | Vendor SDKs from Basler, FLIR, and IDS are free with the camera |
| USB3 Vision | Same | Same GenTL producer model |
| UVC webcam | cv2.VideoCapture | Fine for lab prototyping, not for production |
| Camera Link | Frame grabber vendor SDK | Grabber-specific either way, NI included |
from harvesters.core import Harvester
import numpy as np

h = Harvester()
h.add_file("/opt/pylon/lib/gentlproducer/gtl/ProducerGEV.cti")   # vendor GenTL
h.update()

ia = h.create(0)
ia.remote_device.node_map.ExposureTime.value = 8000     # microseconds
ia.remote_device.node_map.Gain.value = 2.0
ia.start()

with ia.fetch(timeout=5) as buf:
    comp = buf.payload.components[0]
    frame = comp.data.reshape(comp.height, comp.width).copy()

ia.stop(); ia.destroy(); h.reset()
Harvester speaks the GenICam standard through any vendor's GenTL producer, so the same code drives a Basler, a FLIR, or an IDS camera by swapping the .cti path. Exposure and gain are the two settings that matter most for repeatability, and setting them explicitly in code beats leaving them on auto, which is a common cause of the drift described below.
What an inspection actually costs to run
The licence is rarely the whole number. For one inspection station:
| Line | NI Vision route | OpenCV route |
|---|---|---|
| Vision software | Four figures per seat per year | Zero |
| LabVIEW underneath | Four figures per seat per year | Not needed |
| Camera driver stack | NI VAS, licensed | Vendor SDK, free |
| Deployment target | cRIO or NI smart camera | Any industrial PC |
| Engineer availability | LabVIEW plus vision, a small pool | Python plus vision, a large pool |
| Rebuild if the engineer leaves | High, the VI is the documentation | Moderate, the code is reviewable |
The last two rows are the ones that decide long-run cost. A LabVIEW vision application whose author has left is expensive in a way that does not appear on any invoice, which is the same pattern described in LabVIEW alternatives and priced in NI software licensing costs.
Common mistakes
- •Porting the algorithm before archiving images. Without a labelled image set you have no way to prove the new implementation agrees with the old one. Collect the archive first, always.
- •Tuning to 100% on the archive. An algorithm that scores perfectly on the images you tuned it against is overfitted. Hold back 20% of the archive and never look at it until the end.
- •Treating false accepts and false rejects as equivalent. They are not. Decide the acceptable rate for each before tuning, or you will optimise the wrong one.
- •Leaving exposure and gain on auto. Auto-exposure makes every image different and every threshold unstable. Fix them in code.
- •Changing the lighting and the software in the same week. When yield moves you will not know which caused it. Change one thing at a time.
- •Assuming deep learning fixes a lighting problem. It moves the failure from a threshold you can see to a model you cannot. Fix the optics first.
- •Forgetting the rest of the test. Inspection is usually one step in a larger sequence that also drives instruments and records results. See test sequencer comparison and optimizing test coverage for where it sits.
Related reading
- •NI Vision explained, the product overview
- •LabVIEW alternatives, if the whole stack is under review
- •LabVIEW pricing, the licence this add-on sits on top of
- •Optimizing test coverage, where inspection fits in a validation plan
- •Hardware testing best practices
- •NI software licensing costs, the full stack priced line by line
- •LabVIEW to Python migration, the same move for the non-vision code
- •Test sequencer comparison, the layer that calls the inspection step
- •Wafer sort testing, inspection in a semiconductor flow
- •Automated test report generation, recording inspection verdicts
- •LabVIEW vs Python, the broader language decision
- •NI VeriStand alternatives, if real-time deployment is the constraint
- •Free instrument control software, the zero-cost stack in one place
- •Semiconductor yield explained, why false rejects are expensive
- •NI TestStand alternatives, the sequencer that calls an inspection step
Where TestFlow fits
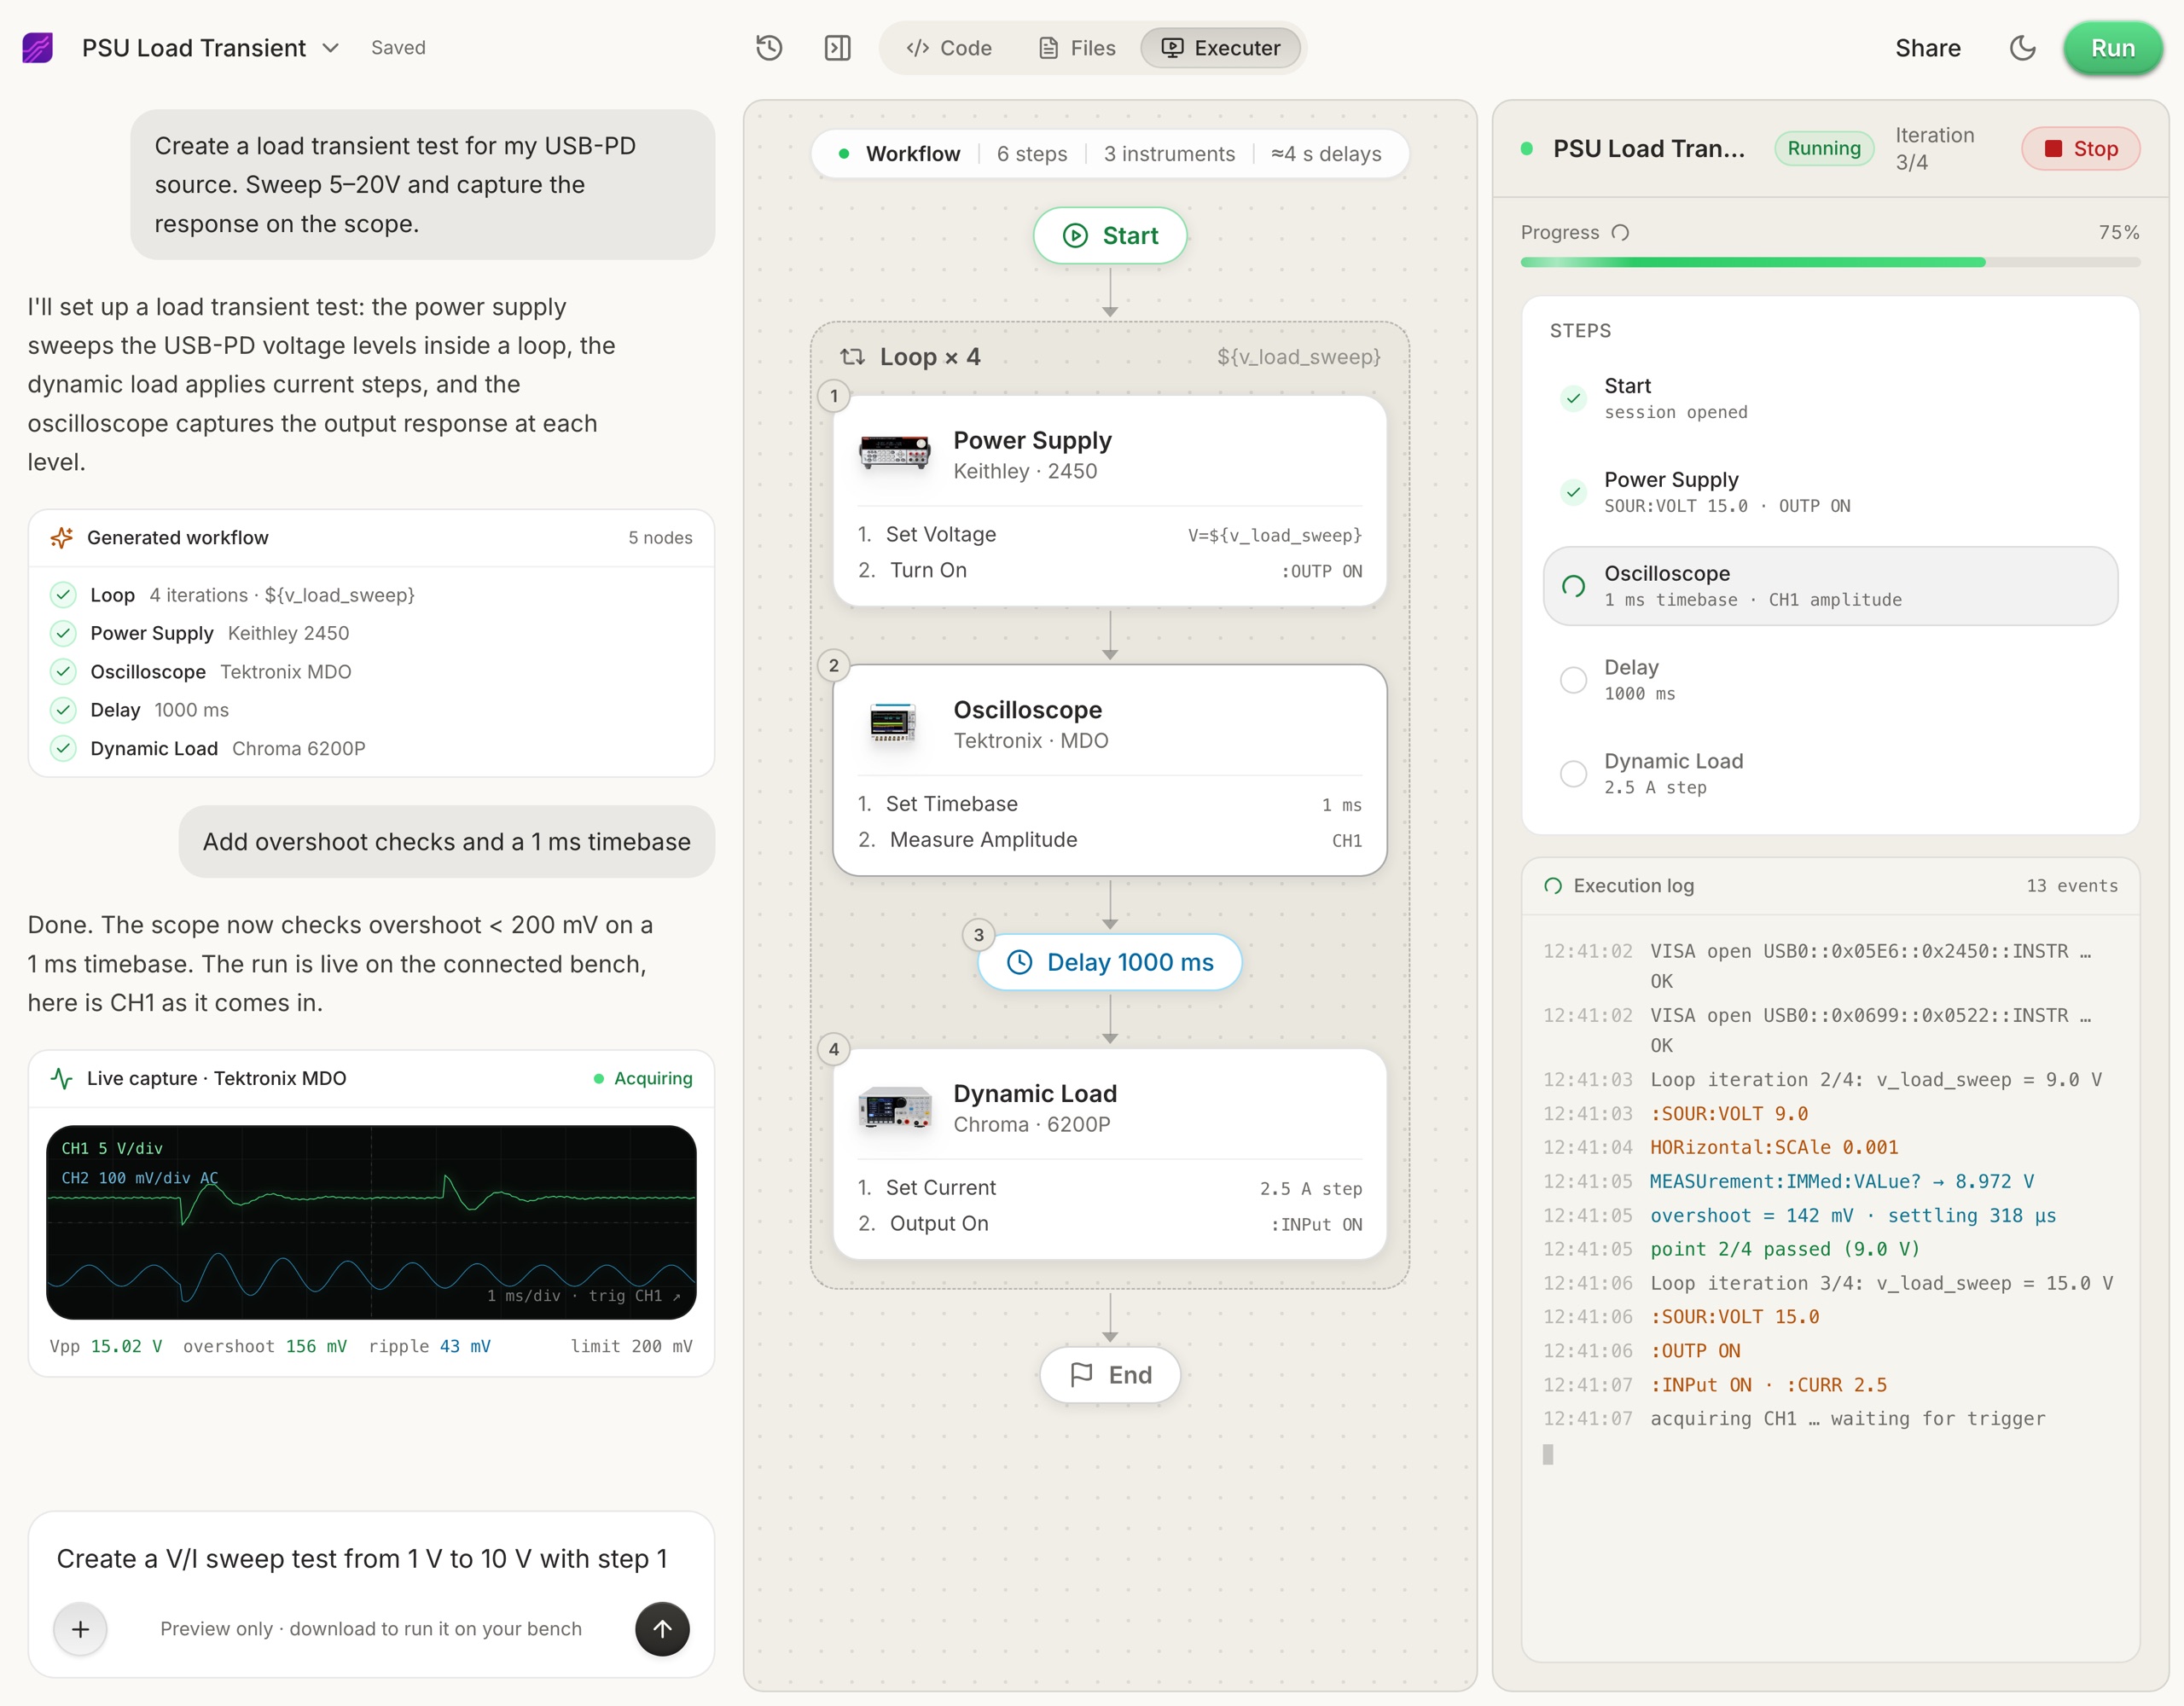
Inspection rarely stands alone. It sits inside a sequence that also powers the DUT, sets conditions, and records a verdict, and that surrounding sequence is what TestFlow generates.
- 1
Connect your instruments. Pick the manufacturer and model, paste the VISA address (USB, LAN, GPIB, or serial), and the agent knows what is on your bench. No bench yet? Use a placeholder address, build the full automation, and swap in the real address when you are in the lab.
- 2
Tell the agent what to test, in plain English. For example, "run a VI sweep from 1 to 10 V in 1 V steps at 0.5 A load current," or "suggest the tests for a power-management device."
- 3
The agent builds the complete workflow in seconds. Instrument-aware automation appears on the canvas, with the generated scripts visible in a code panel you can inspect and edit.
- 4
Run it in your lab. Click Run and the status panel streams results step by step, with measured values inline (VOUT = 3.301 V, asserted 3.2 to 3.4 V, PASS). One click exports a structured PDF report, or the raw results as CSV.
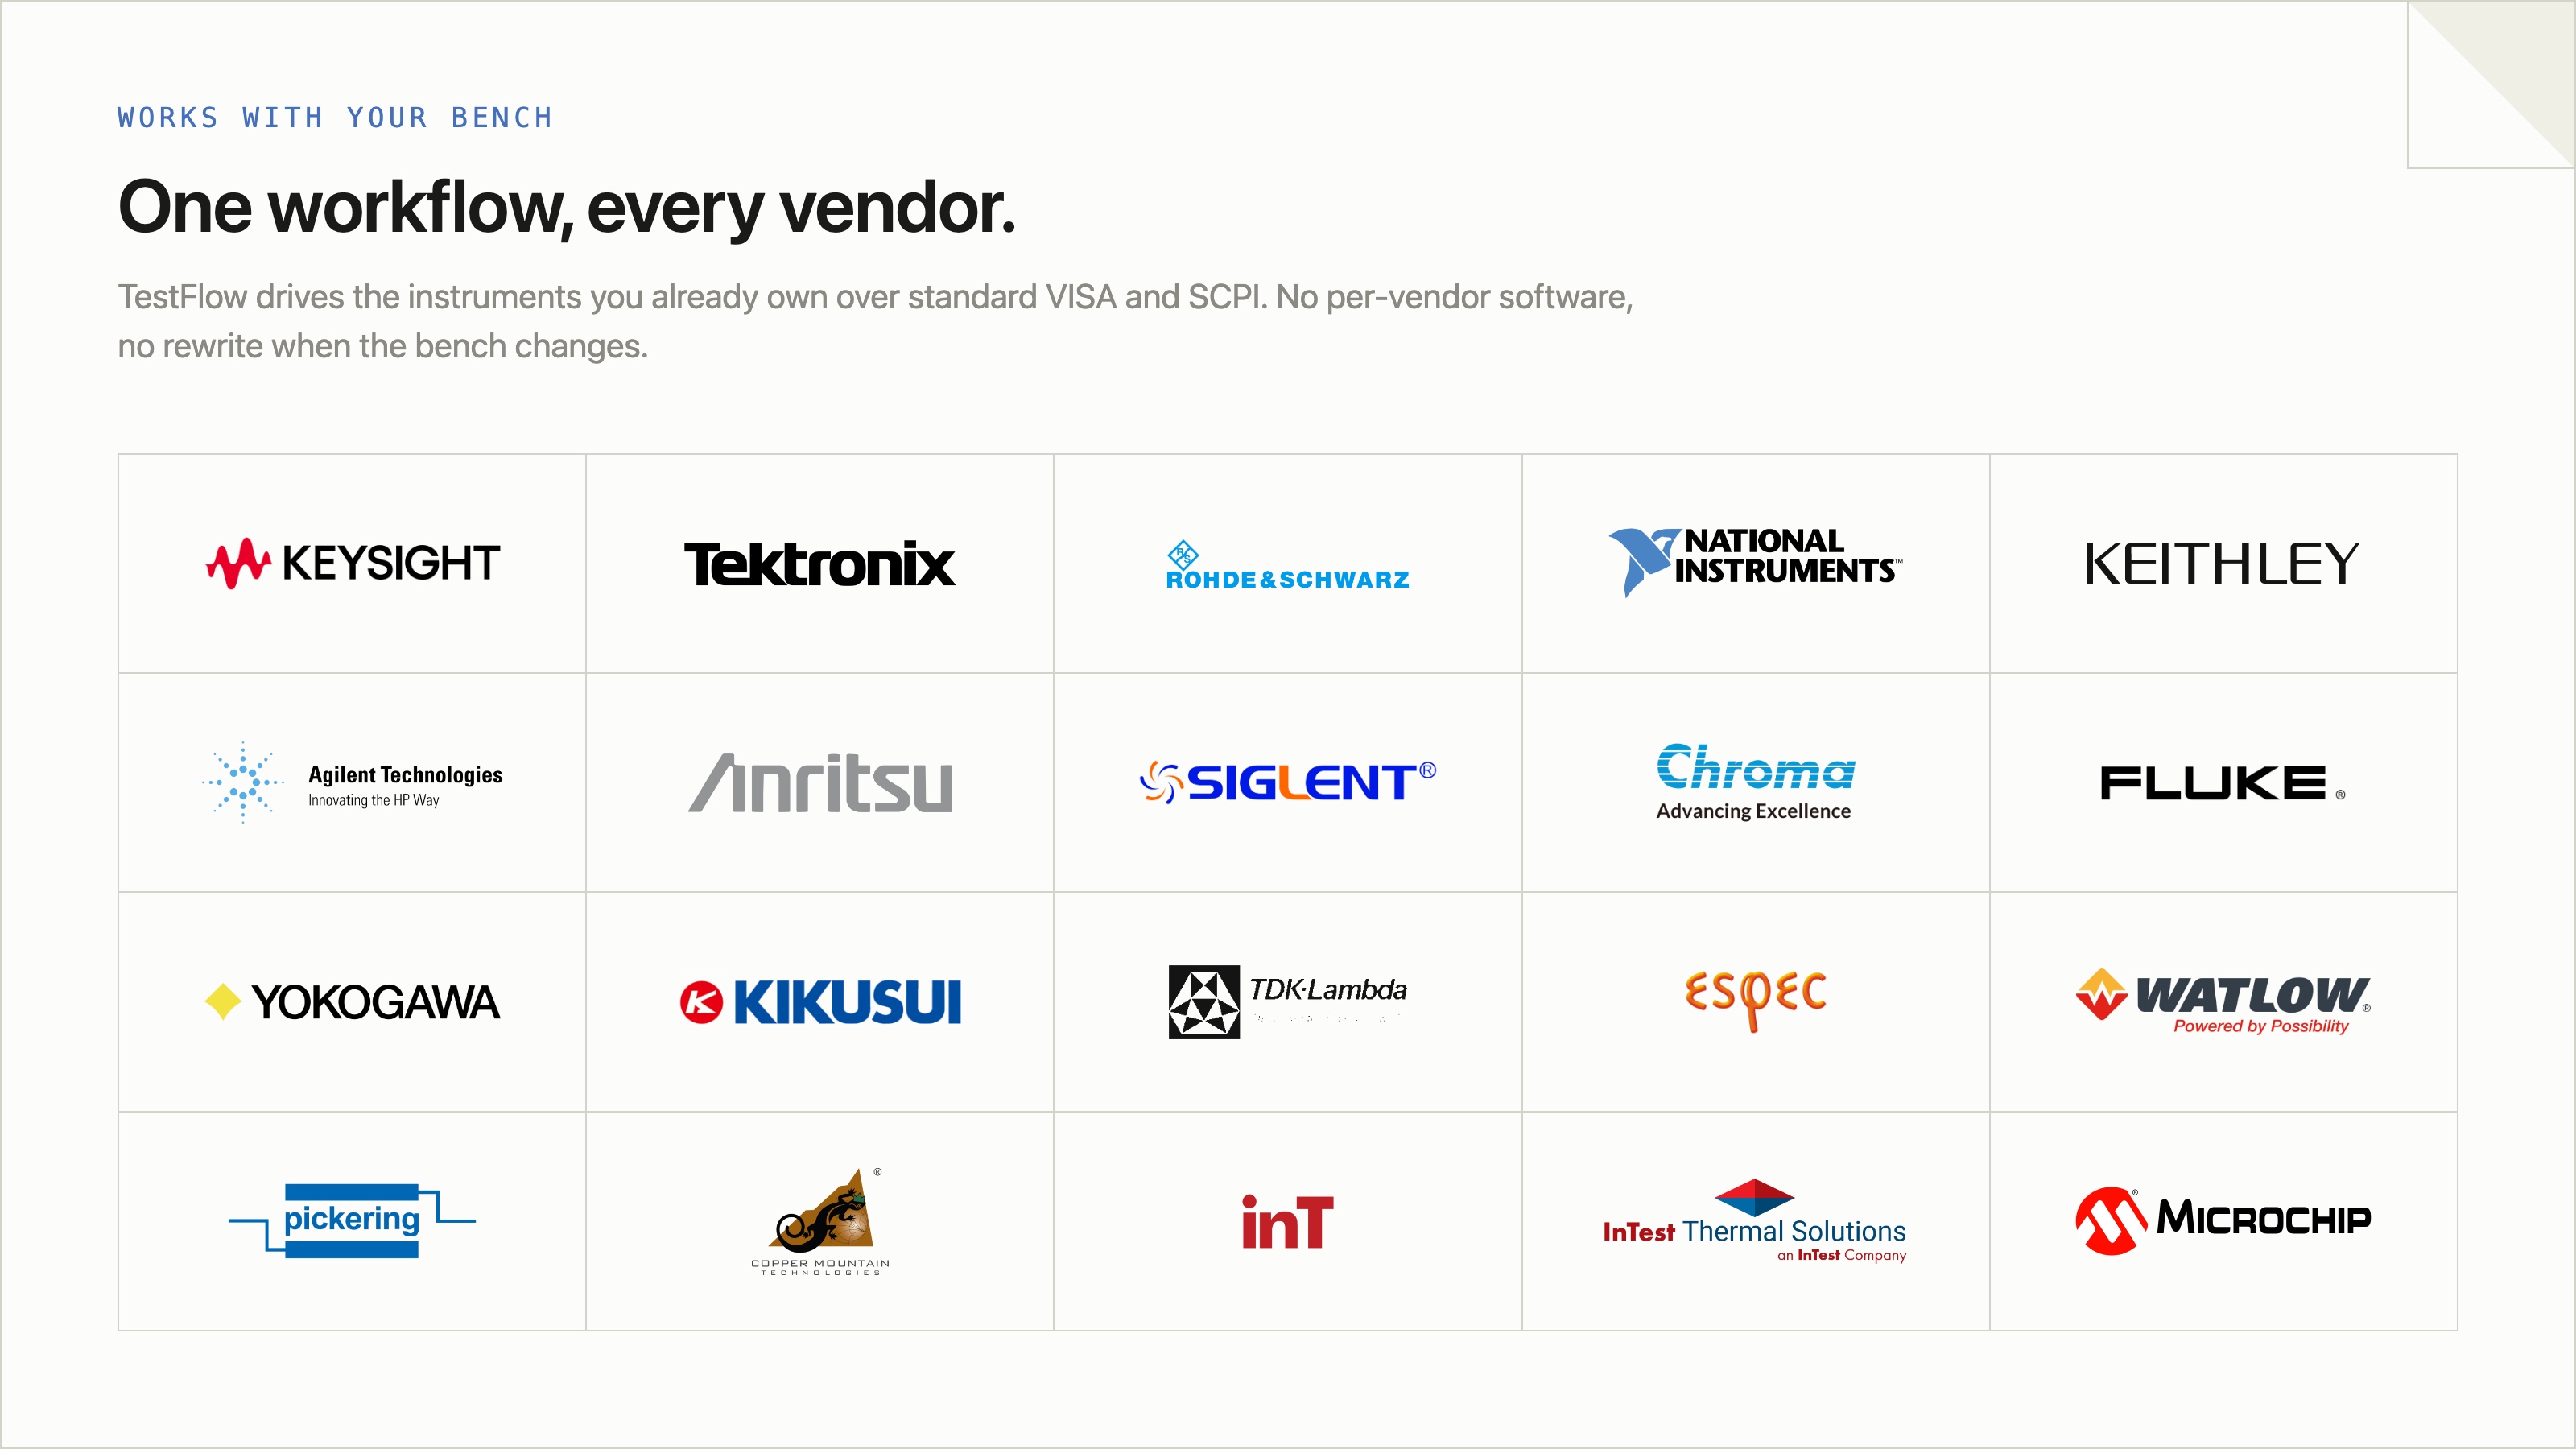
- Vendor-neutral by design. One workflow drives Keysight, Tektronix, Rohde & Schwarz, NI, Rigol, Keithley, Anritsu, and more over standard VISA and SCPI.
- Browser-based and shareable. Workflows live in your workspace, so a sequence built in one lab runs the same way in another.
- Free version to start. Sign in at app.testflowinc.com and build your first workflow today; plans and quotes are on the pricing page.
The step-by-step walkthrough, VISA address formats, and Test Planner prompts are all in the TestFlow product guide.
Frequently asked questions
What is the NI Vision Development Module?
An add-on to LabVIEW and LabWindows/CVI that provides image acquisition, processing, and machine vision functions such as pattern matching, OCR, barcode reading, and measurement, plus the Vision Assistant prototyping tool.
Is OpenCV a good replacement for NI Vision?
For most inspection tasks, yes. OpenCV is free, has broader algorithm coverage, and a far larger community. The gap is the prototyping UI and the deterministic real-time integration on NI hardware.
How much does NI Vision cost?
The Vision Development Module is a per-seat add-on typically in the low-to-mid four figures per seat per year, on top of the LabVIEW licence it requires. Deployment licences for runtime systems are separate.
Does NI Vision require LabVIEW?
The Vision Development Module is used from LabVIEW, LabWindows/CVI, or C. Vision Builder for Automated Inspection is a separate configuration-based product that does not require you to program, but is also separately licensed.
Can Python do machine vision for production test?
Yes. OpenCV with Python is used in production inspection widely. For hard cycle-time guarantees you would typically run the vision step on a dedicated machine or use a smart camera, exactly as you would with any other library.
What is the best free alternative to NI Vision?
OpenCV, with scikit-image for scientific measurement work and the camera vendor's own SDK for acquisition. Together they cover most of what the Vision Development Module provides.
Ready to automate your lab?
Connect your instruments, describe a test in plain English, and TestFlow builds and runs it in minutes.
Tags
Put it on your bench this week
A new way for testing, from specs to automated sequences, capture clean data, and accelerate your validation cycle.